
A yoga session does not have to include a plank, Downward-Facing Dog or any other position that puts body weight through the palms. This short practice stays with standing, seated and lying positions, so you can explore movement without supporting yourself on your hands.
It is a choice of practice, rather than a treatment for wrist pain. You still use your arms in some positions. If lifting an arm or holding a leg is uncomfortable, choose the simpler option or leave that movement out. Persistent or unexplained hand or wrist symptoms deserve individual advice.
Set Up For A Hands-Free Practice
Use a flat, non-slip mat, a folded blanket and a clear space. Plan how you will get down to the floor and back up comfortably; these transitions can involve the hands even when the poses do not. If you need support for floor transfers, practise the standing part only or work with a qualified instructor.
Keep breathing naturally. Stop if you feel pain, dizziness, tingling or numbness. Check suitability with a healthcare professional or qualified instructor if you have an injury, a health condition, are pregnant or are unsure whether the movements suit you.
1. Comfortable Upward Salute
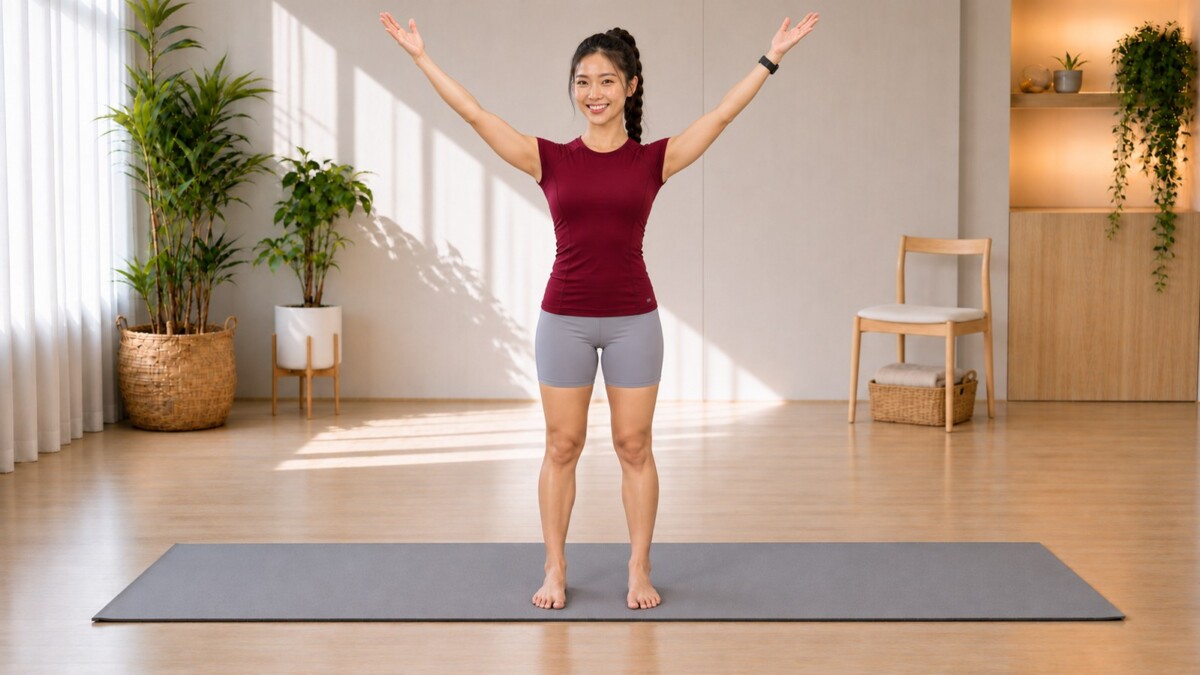
Stand with feet about hip-width apart and weight spread across both feet. Begin with your arms beside you. Slowly lift them forwards and upwards, stopping at a height that lets your shoulders and neck stay comfortable. Your hands can remain apart in a relaxed V.
Keep the ribs over the pelvis rather than leaning backwards to make the arms travel farther. Take two easy breaths, then lower the arms slowly. Repeat three times, pausing with the arms down between repetitions.
Make it simpler: Raise the arms only to shoulder height, or keep them at your sides and notice your standing position. You can stand near a wall if balance is uncertain.
Jade’s cue: Let the reach grow upwards without squeezing the shoulders towards the ears. Your overhead position does not need to match the picture exactly.
2. Seated Side Bend
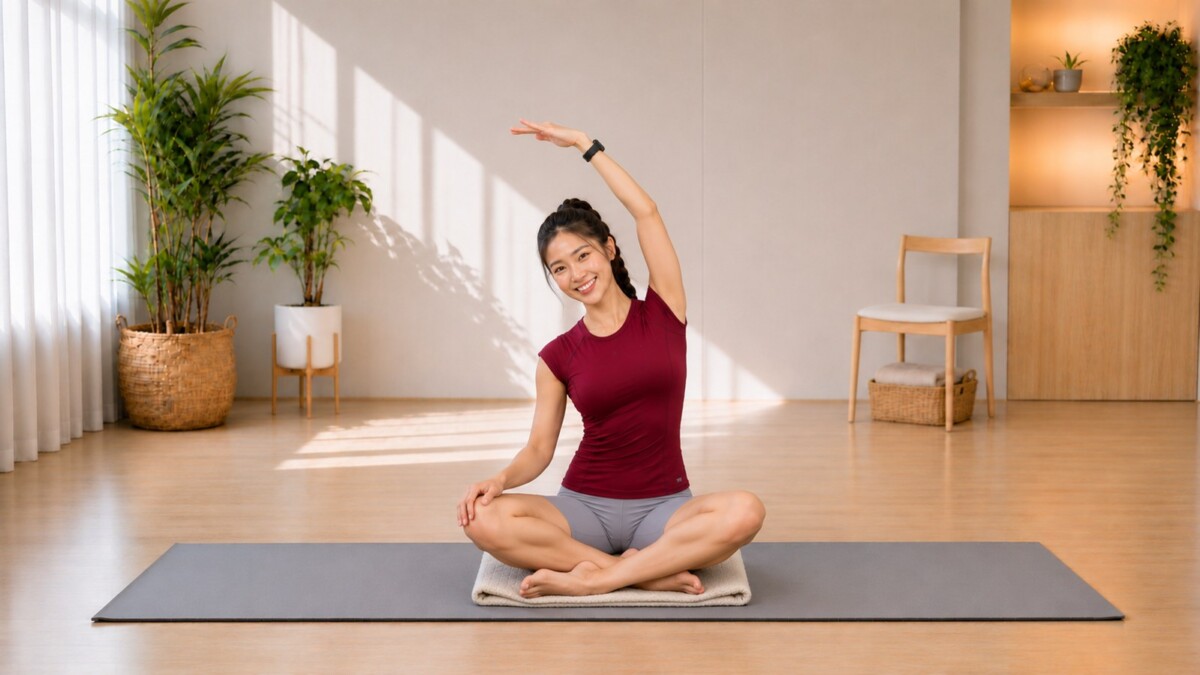
Sit cross-legged on a folded blanket, or choose another seated position you can maintain easily. Rest your right hand on your right thigh. Lift the left arm and make a small bend to the right, keeping both sitting bones supported.
Stay for two breaths, return to the centre and lower the arm. Change sides. Repeat once if the movement remains comfortable. The lower hand rests on the thigh; it does not need to press into the floor.
Make it simpler: Leave both hands on the thighs and explore a very small sideways movement. Sit on a stable chair if floor sitting is not suitable, with both feet resting on the floor.
Jade’s cue: Keep the bend small enough that the opposite hip does not lift. Think of making room along the side of the torso, without pulling at the shoulder.
3. Knees-To-Chest Rest
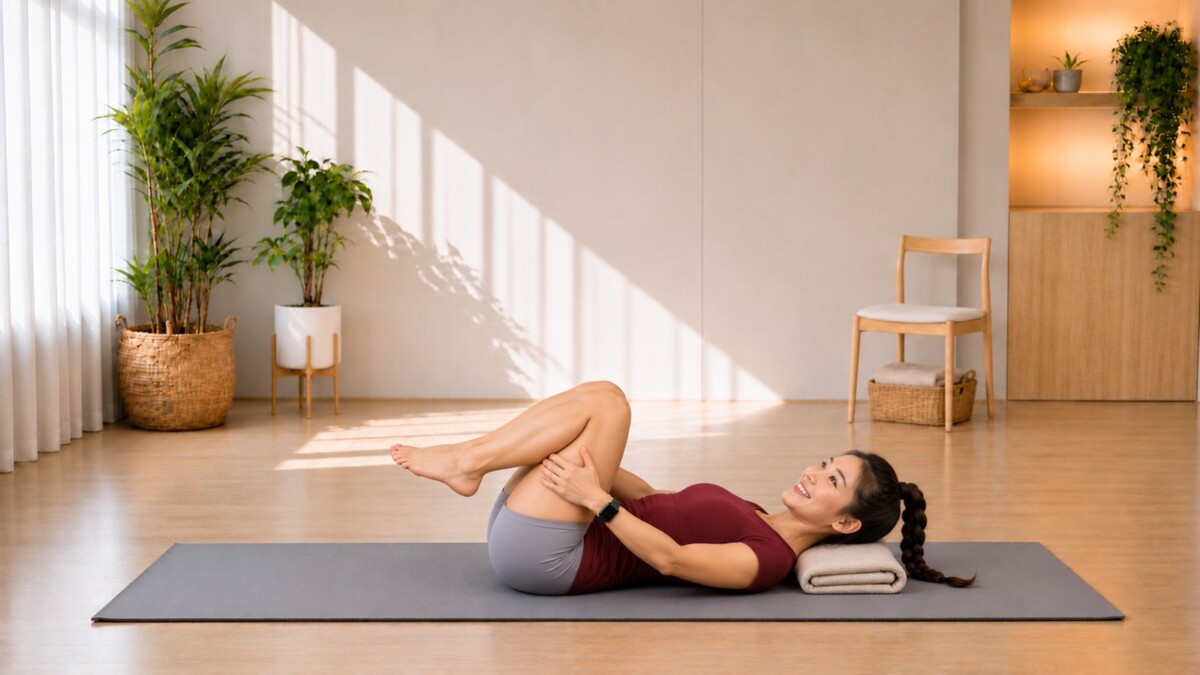
Lie on your back with knees bent and feet on the mat. Bring one knee towards you, then the other, placing the hands lightly behind the thighs. Let the knees come only as close as your breathing and hips comfortably allow.
Rest the head on a thin folded blanket if needed. Stay for three natural breaths, return one foot to the mat and then the other, and pause. Repeat once if you wish. Avoid lifting the head to meet the knees.
Make it simpler: Keep both feet on the mat, or bring in just one leg at a time. If gripping is uncomfortable, leave the hands resting beside you and use the feet-down option.
Jade’s cue: The hands guide rather than pull. There is no need to compress the thighs firmly into the abdomen.
Put The Three Positions Together
Allow a few minutes for the standing reaches, another few for seated side bends, and a short finish lying down. With unhurried transitions, this makes an approximately eight-minute practice. Finish by rolling to your side and getting up in the way that is comfortable and familiar to you.
If you would like another practice that stays upright, try the standing yoga break. Choose the movements that suit you rather than treating every pose in a sequence as compulsory.