For years, the way we stored data at the office was a bit of a Frankenstein arrangement. Some of it lived on Google Drive. Some of it lived on a small army of external hard drives that nobody could quite keep track of. Editing video files straight off Google Drive was painful — the cloud was never built for the way we actually wanted to work. So when I sat down and did the maths on what we were spending on Drive storage versus owning our own box, the answer was obvious. It was time to get a NAS.
This is my review of the one I went with: the UGREEN NASync DH4300 Plus, kitted out with four Seagate IronWolf Pro 12TB drives in RAID 5.
What is a NAS, and why bother?
A NAS — Network Attached Storage — is essentially a small, always-on computer whose only job is to hold your files and serve them to everyone on your network. Think of it as your own private Google Drive that lives on a shelf in your office instead of in someone else’s data centre. Plug it into your router, install some hard drives, and the whole team can read and write to the same pool of storage at the same time.
There are a few flavours of set-up depending on what you want:
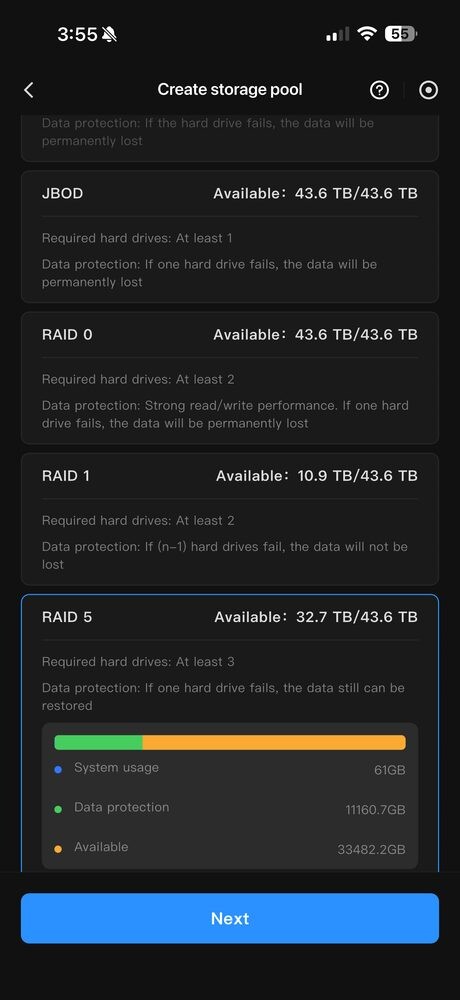
- JBOD / Basic — every drive is its own island. Simple, but if a drive dies you lose what’s on it.
- RAID 0 — drives are striped together for speed and capacity. Fast, but one dead drive kills everything.
- RAID 1 — mirror two drives. Safe, but you only get half the capacity.
- RAID 5 — three or more drives, parity spread across them. You can lose one drive and still recover.
- RAID 6 / RAID 10 — more drives, more redundancy, more cost.
For us, RAID 5 was the sweet spot — usable capacity for video work, with one drive of failure tolerance.
About the "easy set-up" thing
Every YouTube video and forum thread I read before buying said the same thing: setting up a UGREEN NAS is "super easy". I want to gently push back on that. It is not super easy. It is fine, and it is doable, but it is still some hassle — and I say that as someone who is technical and does this kind of thing for a living. If you are not technical, set aside an afternoon, not an hour.
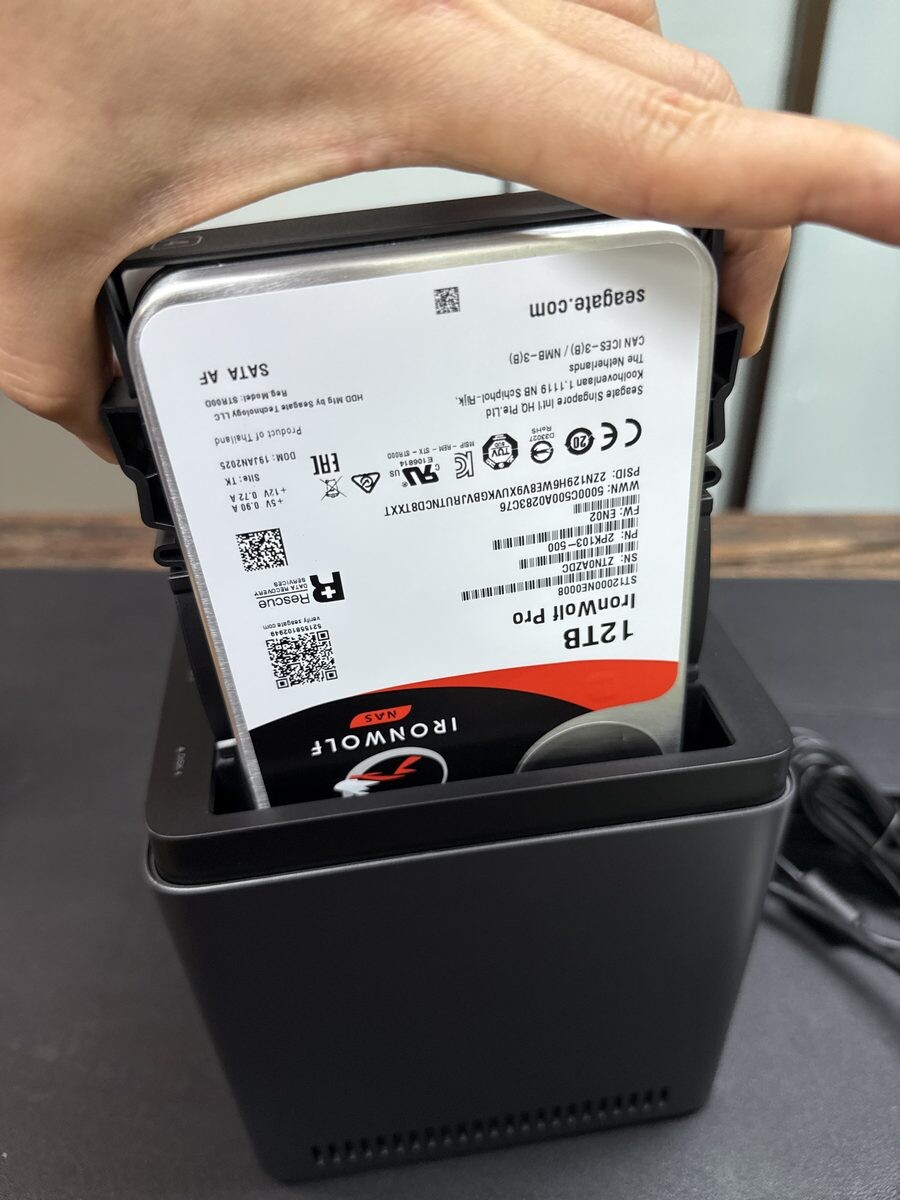
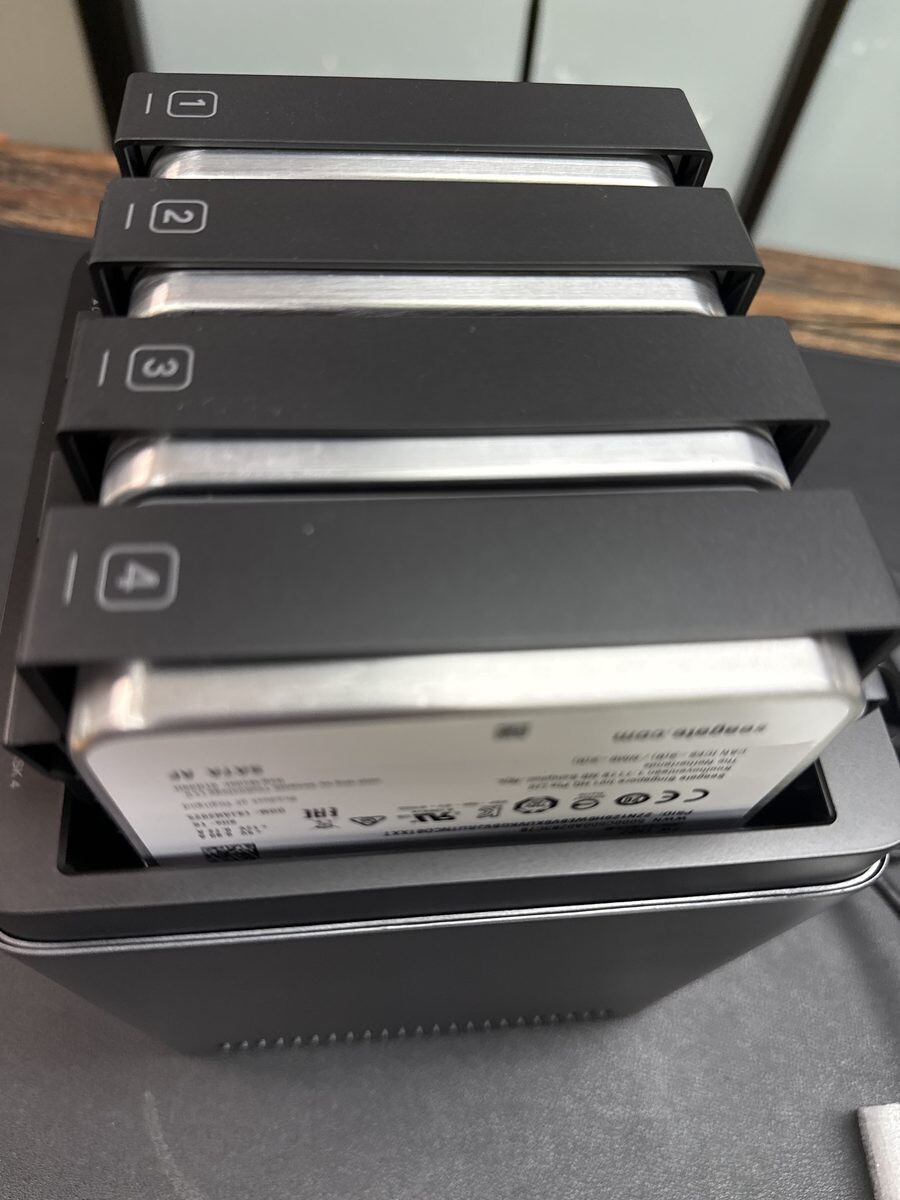
The drives need to be installed first. The DH4300 Plus has four bays, and the caddies are tool-less, which is genuinely nice. You pop a tab, slide the drive in, and the caddy goes back into the chassis with a satisfying click.
The software side
UGREEN walks you through first-time setup in their UGOS Pro mobile app. Once the device is online, you log in, the app finds it, and it starts installing the operating system. This part takes a while — the screen literally tells you 15 to 20 minutes — and you cannot interrupt it.

After that, you create a storage pool. The app shows you the four drives it has detected, and then asks which RAID level you want.

I started the whole configuration on my phone, but somewhere in the middle of creating shared folders, setting up users and configuring permissions, I realised this was going to be miserable on a 6-inch screen. I switched over to the desktop browser and finished from there. If I were doing this again, I’d skip the phone entirely after the very first "hello" pairing step. The desktop interface lays everything out in one place — you can see your storage, your users, your shares, and your apps without endlessly tapping through menus.
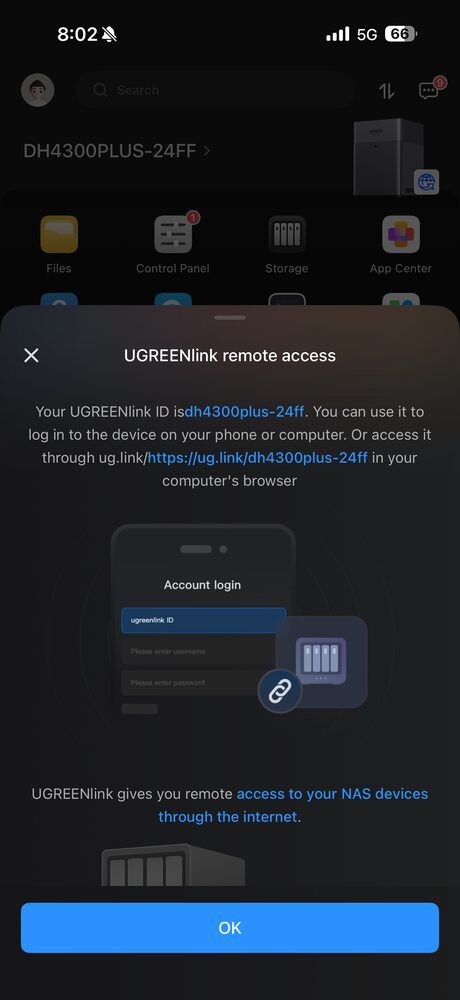
Remote access — the hard part
Once the NAS was happy on the office network, I needed everyone to be able to reach it from outside. UGREEN does ship a service called UGREENlink for this, and it works.
But for our team I went with Tailscale instead. Tailscale builds a private mesh between all your devices over WireGuard, so the NAS shows up as if it were on your local network no matter where you are. It is much faster than a typical relay, and it keeps the NAS off the public internet entirely.
This was the part where being technical actually mattered. Setting up Tailscale on the NAS itself is fine — it is in the App Center as a Docker container — but then you need to install Tailscale on every staff member’s laptop and phone, sign each one into the same tailnet, and explain enough of the model that they understand why they are typing a strange-looking hostname instead of an IP address. Everyone in the office ended up asking me to do their device for them, because the moment Tailscale showed an MagicDNS hostname or an ACL prompt, eyes glazed over. So budget time for that.
Why this NAS, specifically
Two things sealed it for the DH4300 Plus over the obvious alternative, which is Synology.
1. Networking matched our setup. Our Mac Minis at the office have 1 Gigabit Ethernet on the base model, and the DH4300 Plus has a single 2.5 Gigabit Ethernet port. So our bottleneck is the Mac Minis, not the NAS — there’s headroom for whoever upgrades next. If your network is still 1GbE end to end, the DH4300 Plus is not a bottleneck. If you’ve already moved to a 10GbE switch, it will be — look at one of the higher-end UGREEN models instead.
2. Drive compatibility. This was the big one for me. UGREEN lets you use just about any 3.5-inch SATA drive — Seagate IronWolf, WD Red, whatever you can find on sale. Synology has been progressively tightening their hardware compatibility list, and on a number of their newer NAS models you are effectively pushed toward Synology-branded drives. I did not want to be locked into one brand’s ecosystem for something as fundamental as the storage itself. We went with Seagate IronWolf Pro 12TB drives because they’re rated for NAS workloads with a 5-year warranty, and they were the best price-per-terabyte I could find at the time.
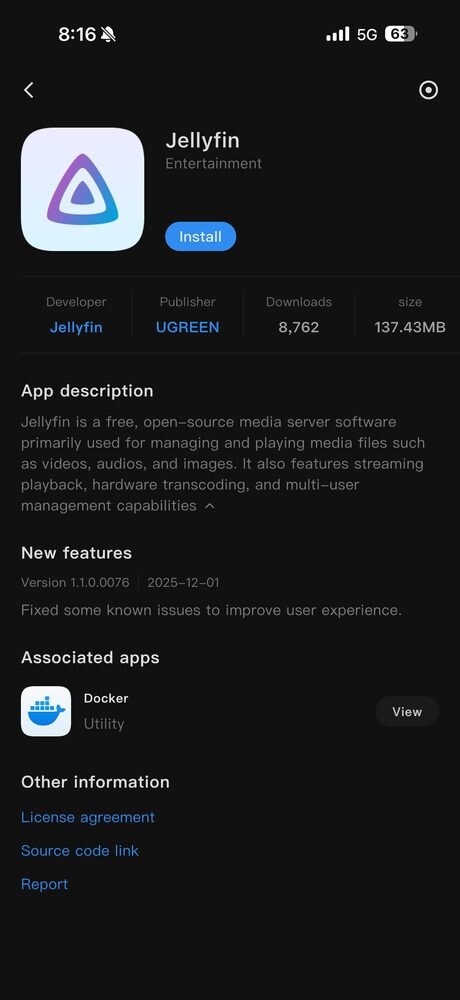
The app ecosystem
One pleasant surprise has been the App Center. UGOS Pro has Docker baked in, and there’s a curated list of apps you can install with one tap. Jellyfin (open-source media server), Plex, qBittorrent, Home Assistant — the usual suspects.
I haven’t pushed this hard yet, but knowing it’s there means the NAS is not just a file dump — it can grow into whatever else we throw at it.
Verdict
The hassle was worth it. We’ve stopped paying for storage we couldn’t really use, our editors are working off the NAS at full local-network speed, and the data is backed up properly with one-drive failure tolerance. If you’re a small business or a household that has outgrown Google Drive and a pile of external drives, the UGREEN DH4300 Plus is a solid choice — provided you go in knowing the set-up will eat an afternoon, not ten minutes.
Official Details
- Product: UGREEN NASync DH4300 Plus, 4-bay desktop NAS
- CPU / RAM: Rockchip RK3588 (8-core ARM, 2.4 GHz) / 8GB LPDDR4X
- Maximum capacity: 120TB (4 × 30TB)
- Networking: 1 × 2.5GbE
- Ports: 1 × USB-C 3.2 Gen 1 (front), 2 × USB-A 10Gb/s (front), HDMI 4K 60Hz
- RAID modes: JBOD / Basic / RAID 0 / 1 / 5 / 6 / 10
- OS: UGOS Pro
- Official site: nas.ugreen.com